Managing Packages
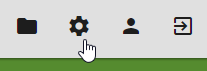
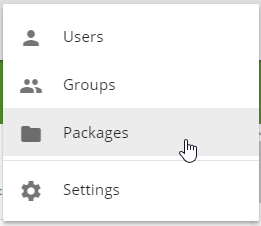
When logged in as an Site Administrator, click the gear icon in the navigation toolbar, then click Packages.
Package List
On the Packages List page you can click the cloud upload icon to import a package or the + icon to create a new package from scratch.
Import Package
Clicking on the import button will bring up a file dialog. Here you can upload a .FIM file that you got from using the package export functionality either in this environment or another Forms inMotion environment. Make sure that after import, you check on your workflows and field mappings to make sure that everything imported correctly.
Add Package
Clicking the add package button brings up the package name dialog. Once you specify a name, you will be taken to the package edit screen for your new package.
Edit Package
Clicking the edit package pencil icon on the line of any existing package will open the package edit screen for that package.
Single Package Edit
Toolbar
The green package edit toolbar is immediately below the standard gray Forms inMotion application toolbar. Numbers have been overlayed on the screenshot below that map to descriptions in the following section.
- The left arrow will return to the packages list screen
- The pencil will open the package name edit dialog
- The download icon will download a full export version of this package as a .FIM file that can be imported into another Forms inMotion environment as a new package
- The trashcan icon permanently deletes this package. This action is not reversible.
- The up arrow screen will launch this form in the client
- The save disk is for saving changes. This is only needed when changing items in the info and package options section. The other sections save automatically.
Info Section
The Info panel is where you can manage the package name, description and options. Changes to all of these property values require you to click Save to complete the update.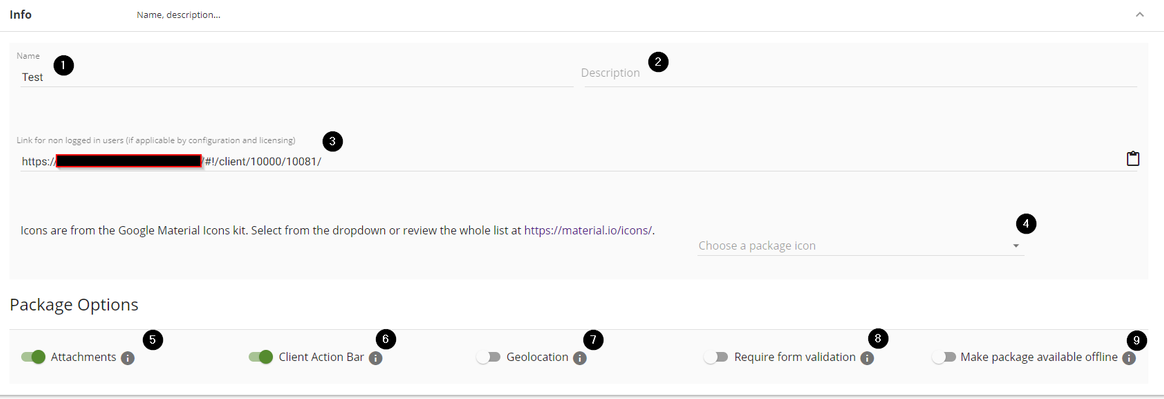
- In addition to changing the name on the package toolbar noted above, you can change it on this field as well
- This is a free text description of the form package
- This is the generated link that can be used in an anonymous form package deployment scenario. Note that you will need to assign this package to the Anonymous group and also be licensed for anonymous form usage in order for this link to work.
- This is the full list of Google material icons from https://material.io/icons in the drop down. This will be shown in the application as the icon for this package.
- Allow or disallow attachments on this package
- Show or hide the client action bar. This is the toolbar that appears in the client. Note that if you choose to hide it, you must implement your own submit button as shown in Other Button APIs in order for your users to submit this form package
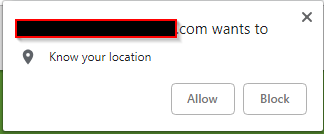
- Trigger geolocation submission with this package. Geolocation is built into browsers but if this is box is checked, the user will see a prompt that they must allow. Otherwise the submitted geolocation data will not be populated with useful information
- Require form validation. The default behavior is that a user can move through a package from form to form as they please and validation is only performed at submit time. This function forces a form to be validated before moving on to another form in that package.
- Make package available offline. This triggers the downloading of this form and preparing it to be used offline. This should only be enabled if you are really sure that you need the form package to be filled in while not connected to the Internet. This does incur substantial download sizes regularly to check the server and predownload "available offline" packages even when they're not in use by the user.
Workflows
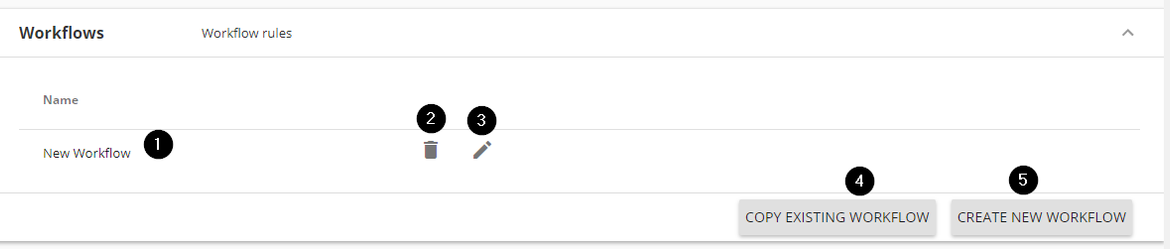
This is where you interact with the workflows configured for this package. Workflows are collections of rules and actions that are run whenever a package is submitted. Workflows can be used to route submissions to another user, save files, email, among other things. Workflow configuration is covered in the Workflow Configuration article.
- This is where the name of the workflow is displayed. Name is a free text field used for identifying the workflow.
- Delete the workflow permanently. This action cannot be undone.
- Edit the workflow
- Copy existing workflow will allow the creation of a new workflow for this package based on an existing workflow configured anywhere else in this instance. After using this, you will need to remap output files for this package since the old output file definitions will be carried over during the copy, but this will save time if you are generating similar outputs like emails for multiple packages
- Create new workflow will create a new empty workflow. For more information about configuring workflows read the Workflow Configuration article.
Forms
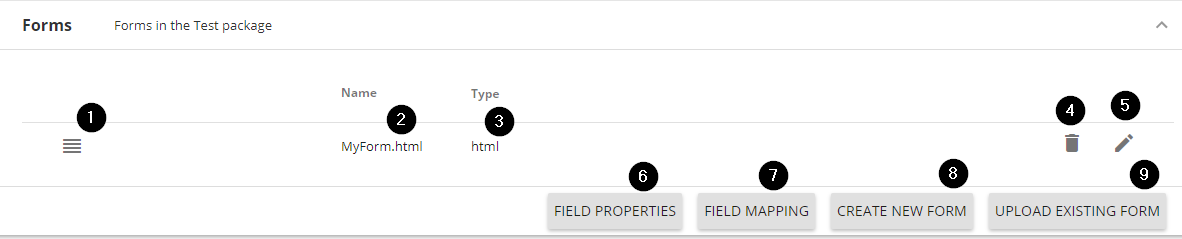
This list displays the forms in the package in the order that they will appear to the client
- The reorder icon can be used to drag-and-drop the forms into a new order. You must save after changing the order.
- This is the name of the form as it will be displayed in the client tab display (only shown when package contains more than 1 form)
- Form type is HTML/PDF/JSON (internal form builder)
- Delete this form permanently
- Edit the form
- Open the form field properties dialog for this form package. For more information check out the Form Field Properties page.
- Open the form field mapping dialog for this package. For more information check out the Field Mapping page.
- Create a new form using the Forms inMotion form builder (EXPERIMENTAL)
- Upload existing form will redirect you to the edit form dialog where your only option is to upload an existing HTML or PDF and add it to this form package.
Groups Access
Here you can control what User Groups have access to use this form package. All user groups appear in the list along with their group id number. To give them access to this package, check the box. To remove access, uncheck it. You do not need to press save after this change.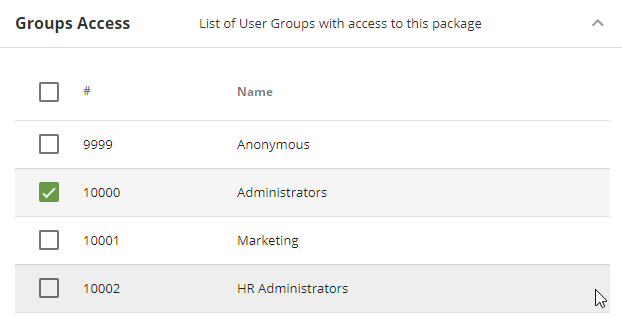
Attachment Types
This list displays the attachment types for the package. Attachment types can be used to try to ensure that the end-user uploads the correct document types, they can be used in workflows, and they can be used to require certain uploads before continuing
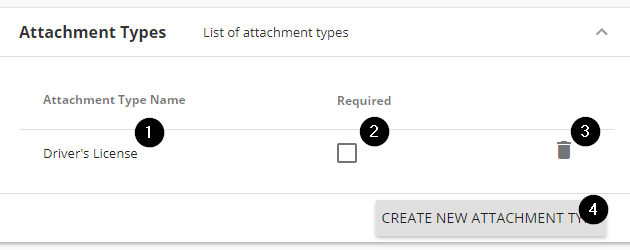
- This is the name of the attachment type as it will be shown to the client
- Check this box to make this attachment required. The form package will not submit if a required attachment type is not present
- Delete this attachment type configuration
- Create a new attachment type